As promised, here is an in depth overview of how I made the masks:
The first thing I did was find a file on thingiverse (since my modeling skills are not that good right now): https://www.thingiverse.com/thing:1081682
Reminder: Though tipping is not required it is good form to tip people who post things you use!
I then printed this model on my printer using ABS. This particular version was in three pieces. Here is a picture of two of the pieces. Note the spikes at the top. These are important for alignment later.

Sanding and Surface Prep
I then sprayed the pieces with Plastikote (our choice of sandable filler primer). Usually it takes two or three coats to cover the whole part. Make sure you are in a well ventilated area with a respirator when using this stuff.

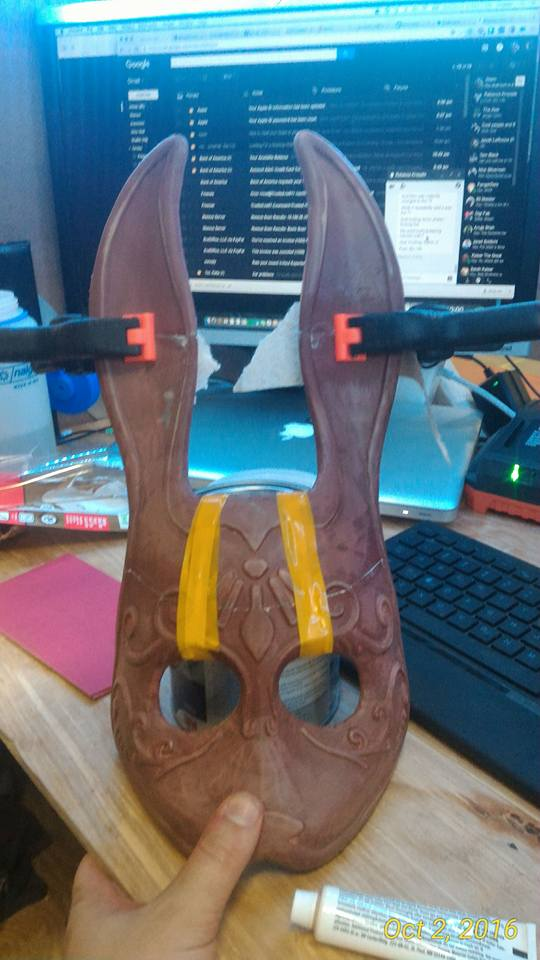
Once this dries, I had to sand it down. I recommend using wet sandpaper and a bowl of water so that you make less of a mess. Note that you are not trying to sand off all of the Plastikote, since the purpose of the Plastikote is to fill in the lines. I sand it until the part feels smooth enough (could be anywhere from 30 minutes to 3 hours depending on your determination). I also recommend sanding each part individually before gluing them together. This is what your parts should look like:

Next, I roughed the surfaces where glue would be applied (glue needs to grip to something and it usually is small surface imperfections). What is really nice about this model is that it has registration marks (positive and negative matching markers) on each piece so you know the proper alignment and orientation. If you ever design your own parts I recommend doing this. I then used super glue to glue the parts together. To hold it together as it dried, I used small clamps.
Once the parts are glued together and dried, I took a seam filler (bondo or 3M acrylic spot filler is my usual choice) and rub it into the seams. I then sanded that down until it was smooth to the other pieces. I repeated this until I could not see or feel the seam anymore.

Painting
After I had the mask smooth and can no longer see the seams it was time to paint! I took regular white spray paint as the base coat. I sprayed the mask a few times since white can be difficult to work with and anything behind it will come through unless you do multiple passes.
To get the gold look on the edges, I used rub &buff, a type of colored wax that you rub onto the area you want colored. I used Q-Tips to get a consistent color.

Finally, I weathered the part. To do this I utilized dry brush techniques and acrylic paints. Essentially, I put paint onto a dry brush. I then rubbed most of that paint off onto a piece of cardboard. I then with big strokes dirtied up the mask.
The last bit of weathering was adding blood. For the smaller drips I took a paint brush covered in runny blood colored paint (a mix of red, brown, blue and a bit of black) and flicked my wrist towards the mask until i got the blood patterns I wanted. i then took some sandpaper to it to give the ruff and buff a dirty worn down look.
The last touch was making it look like porcelain that had broken. With the help of a friend who paints miniatures all the time, I learned how to do cracking with paint (essentially use a light color first then darken in the deeper cracks. Also use a fine pointed paint brush to get the lines to look straighter).
I finally coated it in clear coat to give it a porcelain look and to protect the paint. YOU SHOULD CLEAR COAT EVERY PAINT JOB YOU DO ESPECIALLY IF YOU PLAN TO GO TO CON WITH IT.
The last step is to add foam inside and string to it so it can be worn.
